Butterfinger Balls: A Bite-Sized Delight
Table of Contents
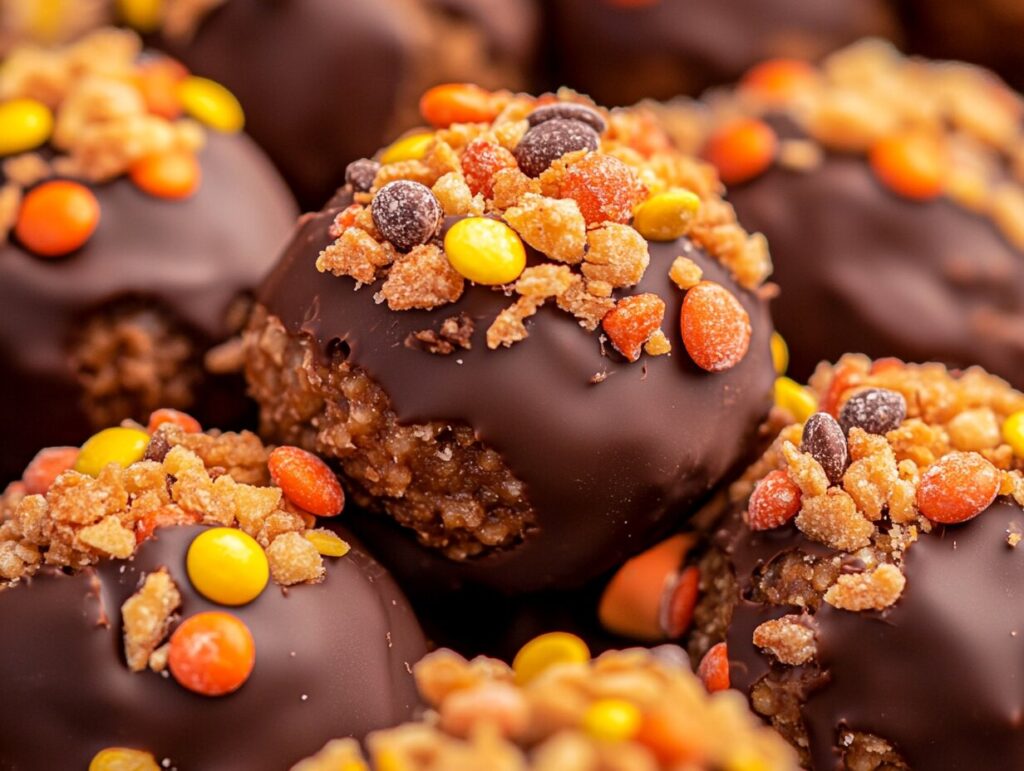
Butterfinger Balls are a quick, delicious, and crowd-pleasing treat that perfectly combines the rich crunch of Butterfinger candy bars with creamy peanut butter and chocolate. These bite-sized snacks are easy to make and highly versatile, making them a favorite for holidays, parties, or as an everyday indulgence. Whether you’re a seasoned baker or a kitchen novice, crafting these treats is a delightful culinary adventure.
In this article, we will explore the origins of Butterfinger Balls, detail the essential ingredients, and guide you through step-by-step instructions for preparing these sweet delights. Additionally, you’ll discover exciting variations, expert tips, and serving suggestions to elevate your Butterfinger Ball experience.
The Origins of Butterfinger Balls
The History of Butterfinger Candy
Butterfinger candy bars, originally created in 1923 by Otto Schnering, have long been a beloved treat among candy enthusiasts. Known for their crispy, peanut-buttery center coated in smooth chocolate, Butterfinger bars became a staple in American snack culture. Over the decades, creative home cooks began experimenting with the candy, incorporating its signature crunch into various desserts like cookies, cakes, and, of course, Butterfinger Balls.
Evolution of Butterfinger-Based Recipes
As desserts evolved, the simplicity and adaptability of Butterfinger Balls became apparent. These treats combined minimal ingredients with maximum flavor, making them an ideal no-bake option for those craving a quick dessert. With endless variations emerging over time—like keto-friendly and vegan adaptations—Butterfinger Balls have cemented their place in the world of sweet indulgences.
Ingredients Needed
Core Ingredients
To create classic Butterfinger Balls, you’ll need the following essentials:
- Butterfinger Candy Bars: The star ingredient that provides the signature crunch and flavor.
- Creamy Peanut Butter: Adds richness and helps bind the mixture.
- Powdered Sugar: For sweetness and structure.
- Chocolate Coating: Melting chocolate or chocolate chips for the outer layer.
Optional Ingredients for Variety
For those looking to experiment, consider these additions:
- Crushed Pretzels: Adds a salty, crunchy twist.
- Coconut Flakes: Provides texture and a tropical touch.
- White Chocolate Drizzle: For a decorative finish.
- Mini Marshmallows: A gooey addition for extra indulgence.
- Almond or Cashew Butter: A substitute for peanut butter for a nutty twist.
Tools You’ll Need
- Mixing Bowls: For combining ingredients.
- Melting Pot or Microwave-Safe Bowl: To melt the chocolate.
- Spoons or Cookie Scoops: For portioning the mixture evenly.
- Parchment Paper or Silicone Mat: To prevent sticking during shaping and cooling.
If you’re curious about sweet and savory recipes, explore our guide to Avocado Toast in French Cuisine.

Step-by-Step Preparation Guide
Preparing the Base Mixture
The foundation of Butterfinger Balls lies in a perfect blend of ingredients. Follow these steps to prepare the base:
Crush the Butterfinger Bars:
- Place the candy bars in a sealed plastic bag and crush them using a rolling pin or mallet. Aim for fine crumbs, but a few chunks add texture.
- Alternatively, use a food processor for quicker results.
Mix with Peanut Butter and Sugar:
- In a large mixing bowl, combine the crushed Butterfinger bars, creamy peanut butter, and powdered sugar.
- Stir until the mixture forms a thick, uniform dough. Adjust the ratio of peanut butter and sugar to achieve the desired consistency.
Chill the Mixture:
- Cover the bowl with plastic wrap and refrigerate for 15-30 minutes. Chilling helps firm up the dough, making it easier to handle.
For a fun breakfast twist on dessert, you might also enjoy our Sourdough French Toast: A Classic Twist on a Breakfast Favorite.
Rolling and Shaping the Butterfinger Balls
Once the mixture is chilled, it’s time to form the balls:
Portion the Dough:
- Use a spoon or cookie scoop to measure out equal portions of the mixture, ensuring uniformity in size.
- Roll the portions into smooth, bite-sized balls using your hands.
Place on a Tray:
- Arrange the balls on a tray lined with parchment paper or a silicone mat to prevent sticking.
Optional: Chill Again:
- For firmer balls, refrigerate the tray for an additional 15 minutes before coating them in chocolate.

Coating and Final Touches
The chocolate coating is what elevates Butterfinger Balls to irresistible heights:
Melt the Chocolate:
- Use a double boiler or microwave to melt chocolate chips or melting chocolate. Stir until smooth and glossy.
Dip the Balls:
- Using a fork or skewer, dip each ball into the melted chocolate. Allow excess chocolate to drip off before placing it back on the tray.
Decorate:
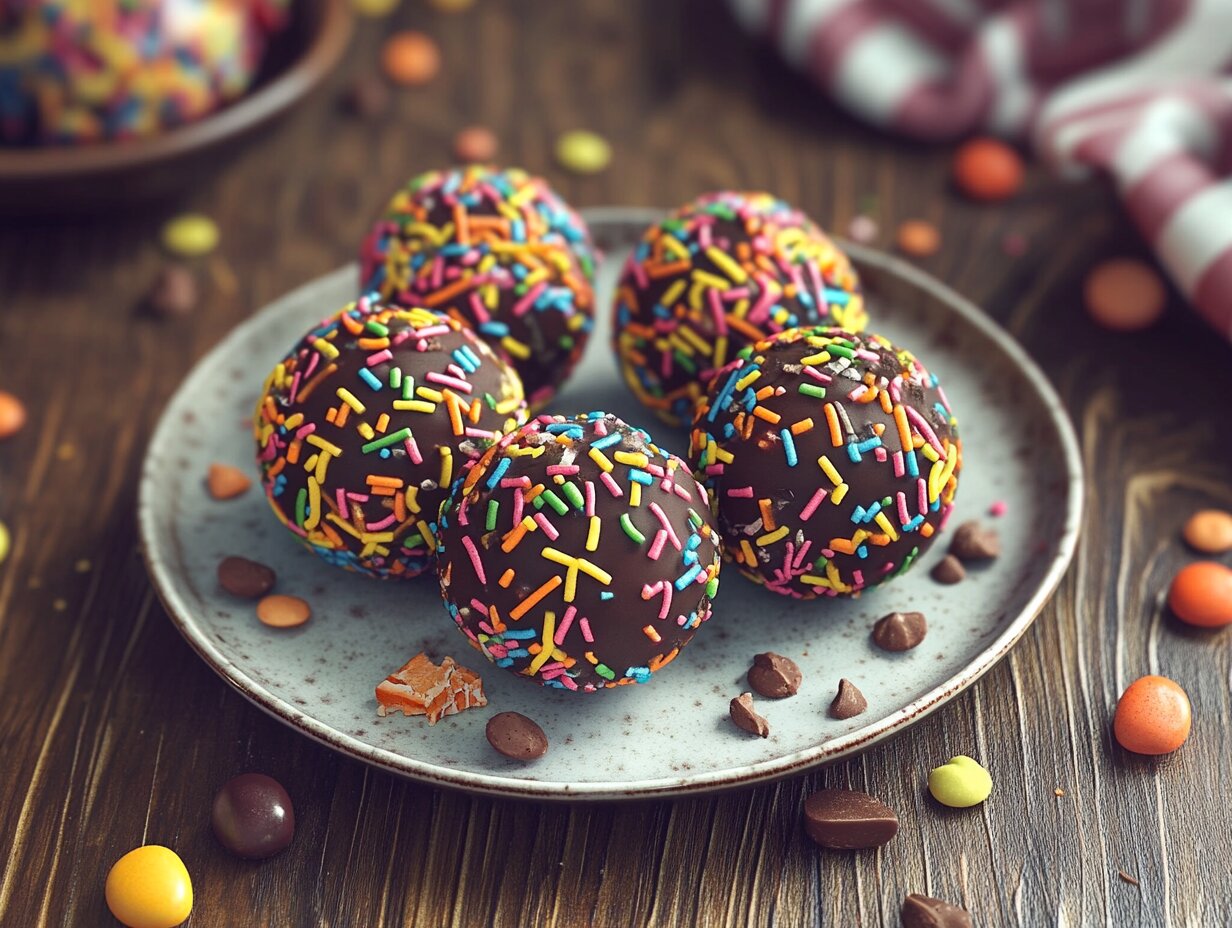
- While the chocolate is still wet, sprinkle additional crushed Butterfinger bits, coconut flakes, or colorful sprinkles on top.
Set the Coating:
- Let the chocolate harden by placing the tray in the refrigerator for about 15-20 minutes.
Variations of Butterfinger Balls
Peanut Butter Variations
Crunchy Peanut Butter:
- Swap creamy peanut butter for the crunchy variety to add extra texture. The small peanut bits complement the crispy Butterfinger pieces beautifully.
Flavored Peanut Butter:
- Experiment with flavored peanut butter, such as chocolate peanut butter or cinnamon-infused peanut butter, to add a twist to the classic recipe.
Vegan-Friendly Options
For those following a vegan diet, Butterfinger Balls can be adapted:
Use Vegan Butterfinger Alternatives:
- Several brands offer vegan peanut butter crunch bars that can mimic the Butterfinger flavor.
Dairy-Free Chocolate:
- Replace traditional milk chocolate with dark or vegan-certified chocolate for coating.
Nut Butter Substitutes:
- Almond or sunflower seed butter works perfectly as a substitute for peanut butter.
Keto-Friendly Butterfinger Balls
Low-carb and keto versions of Butterfinger Balls are surprisingly easy to create:
Sugar-Free Chocolate:
- Opt for keto-friendly chocolate chips sweetened with stevia or erythritol.
Low-Carb Sweeteners:
- Replace powdered sugar with a low-carb alternative like powdered erythritol or monk fruit sweetener.
Homemade Butterfinger Filling:
- Create a keto-friendly “Butterfinger” filling by combining crushed peanuts, almond flour, and a touch of keto caramel syrup.
Tips and Tricks for Perfect Results
Best Practices for Shaping Butterfinger Balls
Chill the Mixture:
- Always refrigerate the dough before shaping to ensure it holds its form.
- Dust your hands with powdered sugar to prevent sticking while rolling.
Uniform Size:
- Use a cookie scoop or measuring spoon to ensure all balls are the same size for even coating and presentation.
How to Store Butterfinger Balls
Proper storage keeps Butterfinger Balls fresh and ready to enjoy:
Refrigeration:
- Store the balls in an airtight container in the refrigerator for up to 2 weeks.
Freezing:
- Butterfinger Balls freeze well! Place them in a freezer-safe container and enjoy them for up to 3 months. Thaw in the refrigerator before serving.
Common Mistakes to Avoid
Overheating Chocolate:
- Melt chocolate slowly to avoid burning it. Stir frequently during the melting process.
Skipping Chilling Steps:
- Skipping refrigeration can lead to a sticky dough that’s difficult to work with.
Uneven Coating:
- Use tools like a fork or skewer to ensure each ball gets an even layer of chocolate.
Serving Suggestions
Pairing Butterfinger Balls with Other Treats
Butterfinger Balls are versatile and pair well with a variety of desserts:
Chocolate Platters:
- Serve them alongside chocolate-covered strawberries, truffles, and fudge for a decadent dessert platter.
Ice Cream Toppings:
- Crumble Butterfinger Balls over vanilla or chocolate ice cream for a crunchy and creamy dessert.
Milkshakes:
- Blend a few Butterfinger Balls into a milkshake for a rich and indulgent treat.
Presentation Ideas for Parties and Holidays
Presentation elevates Butterfinger Balls from a simple snack to a show-stopping dessert:
Holiday-Themed Decorations:
- Decorate the balls with colored chocolate or sprinkles to match holidays like Christmas (red and green), Halloween (orange and black), or Valentine’s Day (pink and red).
Elegant Display:
- Arrange the balls on a tiered dessert stand, interspersed with small flowers or greenery for an elegant touch.
Gift Boxes:
- Pack Butterfinger Balls in decorative boxes or tins lined with parchment paper for a thoughtful homemade gift.
Health Considerations
Nutritional Information
While Butterfinger Balls are a delicious treat, they are best enjoyed in moderation:
Caloric Content:
- Each Butterfinger Ball typically contains around 100-150 calories, depending on the size and ingredients.
Fat and Sugar:
- Due to the chocolate and peanut butter, these treats are high in fats and sugars. Consider adjusting portion sizes to suit dietary preferences.
Balancing Indulgence with Health-Conscious Choices
Here are a few strategies to enjoy Butterfinger Balls while staying health-conscious:
Mini Size:
- Roll smaller balls to reduce calorie intake per serving.
Healthier Substitutes:
- Use dark chocolate instead of milk chocolate for more antioxidants and less sugar. Replace powdered sugar with a low-calorie alternative.
Mindful Eating:
- Serve Butterfinger Balls as part of a balanced dessert platter with fresh fruit to encourage portion control.
FAQs
Can I make Butterfinger Balls ahead of time?
Yes, you can make them in advance! Store them in the fridge for up to two weeks. If you need to keep them longer, freeze them in an airtight container for up to three months. Thaw them in the fridge before serving
What is the best way to crush Butterfinger bars?
Put the candy bars in a sealed plastic bag. Use a rolling pin or a mallet to crush them. For a finer texture, try using a food processor. If the bars are too hard, let them sit at room temperature for a while.
Can I replace peanut butter with something else?
Yes, you can! Almond butter, cashew butter, or sunflower seed butter are great options. These swaps work well for those with allergies or different tastes.
How do I stop the chocolate coating from cracking?
Let the Butterfinger Balls sit at room temperature for a few minutes before dipping them. This helps reduce the temperature difference between the balls and the melted chocolate, which can cause cracks.
What if the mixture is too sticky to handle?
Add a little powdered sugar if the mixture is sticky. You can also chill the dough for a bit longer. This makes it easier to roll into balls.
Are Butterfinger Balls gluten-free?
Most Butterfinger bars are gluten-free, but it’s best to check the label to be sure. Use gluten-free chocolate and other certified gluten-free ingredients if needed.
Conclusion
Butterfinger Balls are a simple and tasty treat that everyone can enjoy. They’re easy to make and perfect for any occasion, from parties to holiday gifts. With just a few steps, you can create a dessert that combines the crunch of Butterfinger bars with creamy peanut butter and chocolate.
Whether you stick to the classic recipe or try fun variations, Butterfinger Balls are sure to impress. Give them a try and enjoy every sweet and crunchy bite!
